


Build a durable, waterproof cover with heavy fabric, simple sewing, and basic measurements.
I’ve made many covers and lawn gear over the years, so I’ll guide you through how to make a lawn mower cover step by step. This guide explains materials, measuring, sewing and no-sew alternatives. You’ll learn how to make a lawn mower cover that fits, sheds water, breathes a little, and lasts through seasons. Read on for plans, tips, mistakes to avoid, and real-life lessons from my own builds.
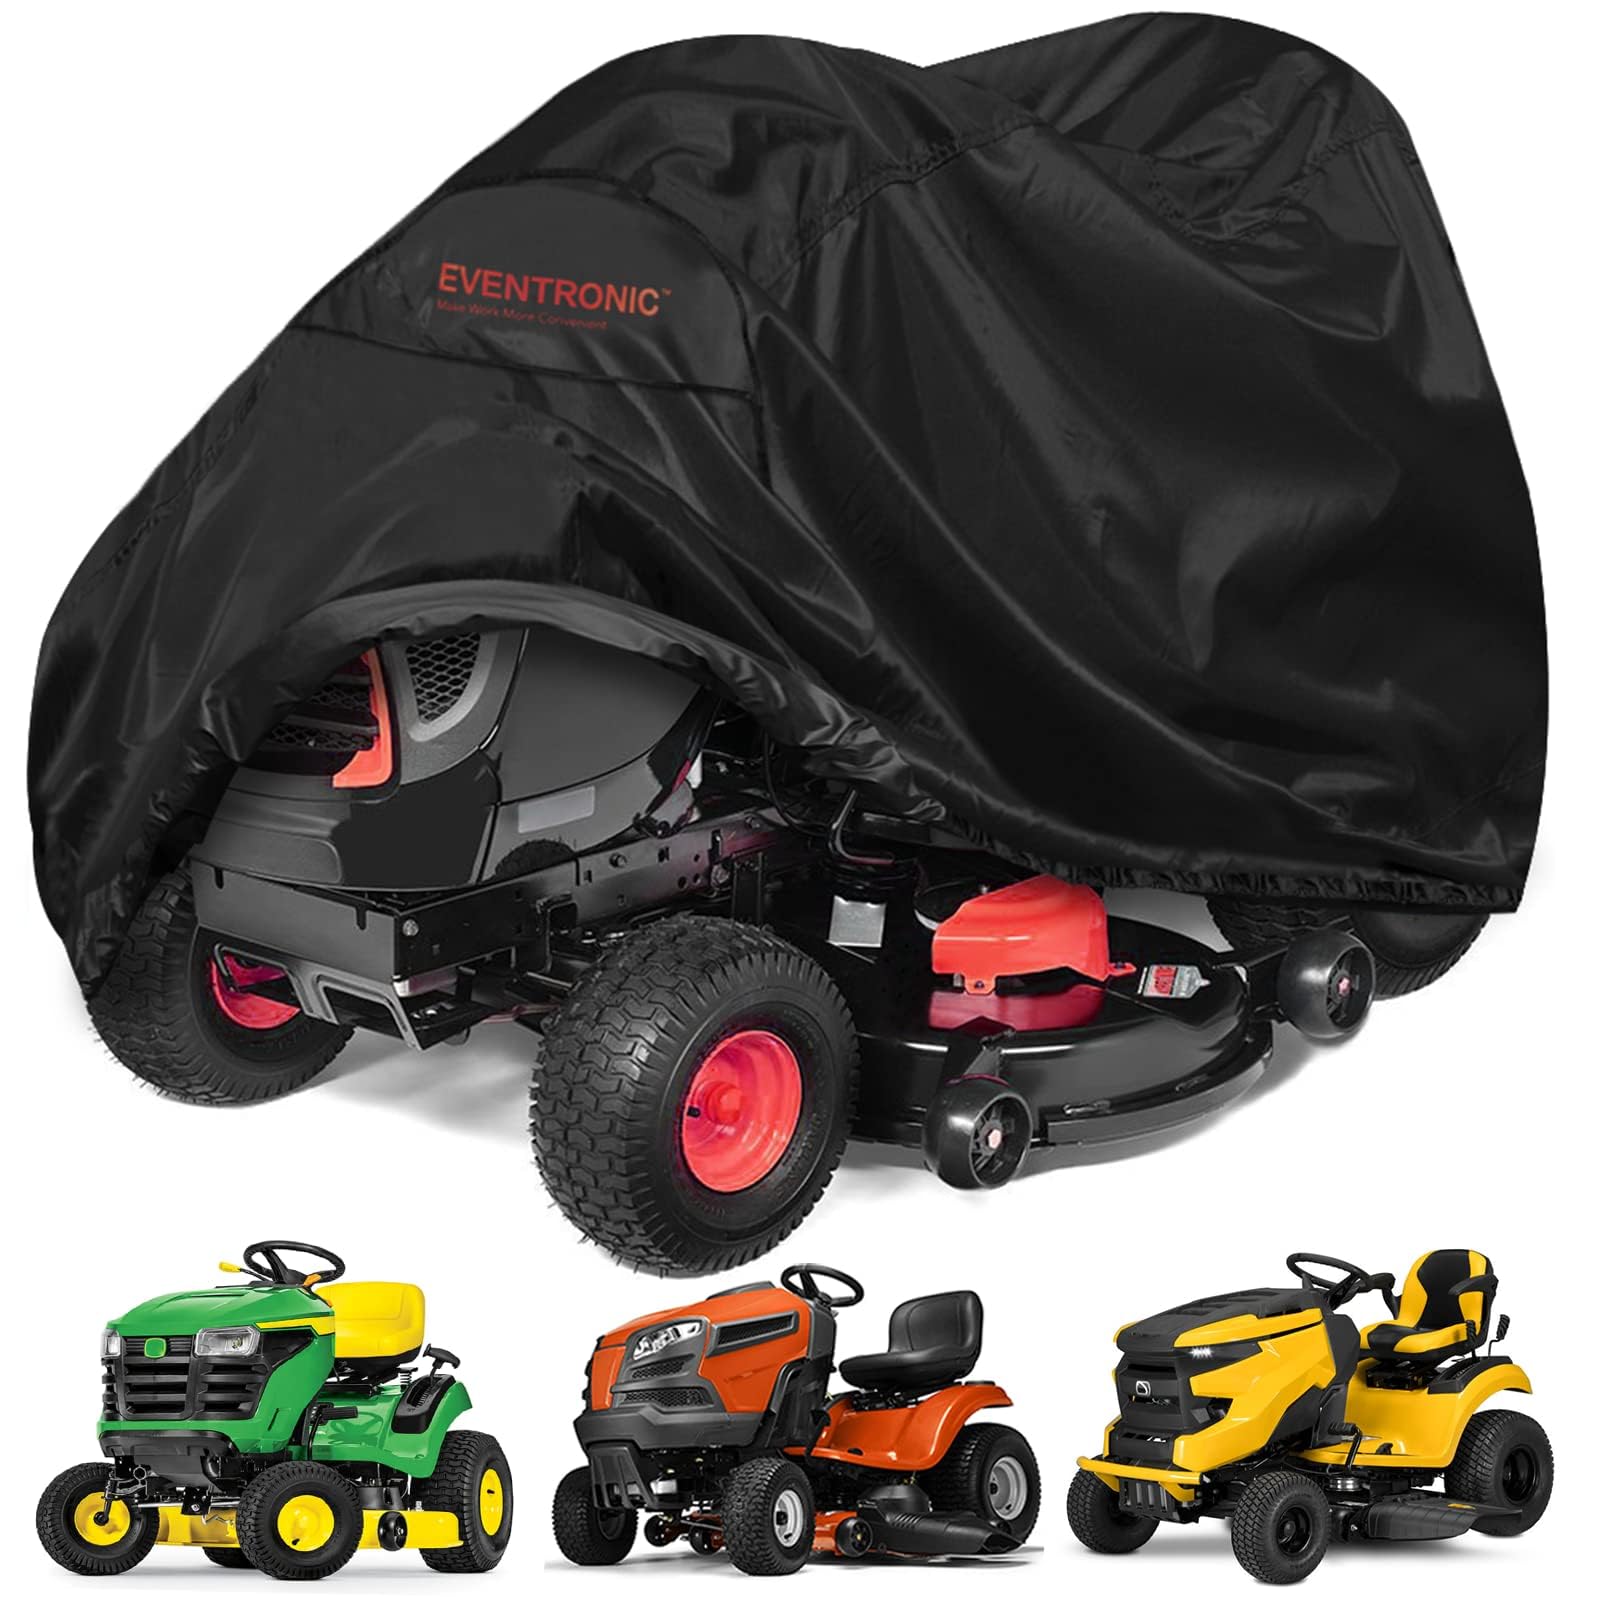
Why make your own lawn mower cover?
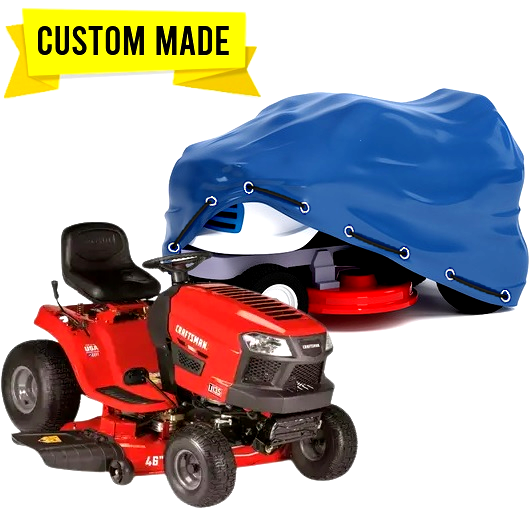
Making your own cover saves money and gives a custom fit. A tailored cover protects paint, electronics, and the engine from sun and moisture. It also lets you add features like vents, straps, and pockets that store keys or oil.
A store cover might be cheap but ill-fitting. A custom cover reduces tearing and moisture pockets. Learning how to make a lawn mower cover also teaches you basic outdoor sewing skills.
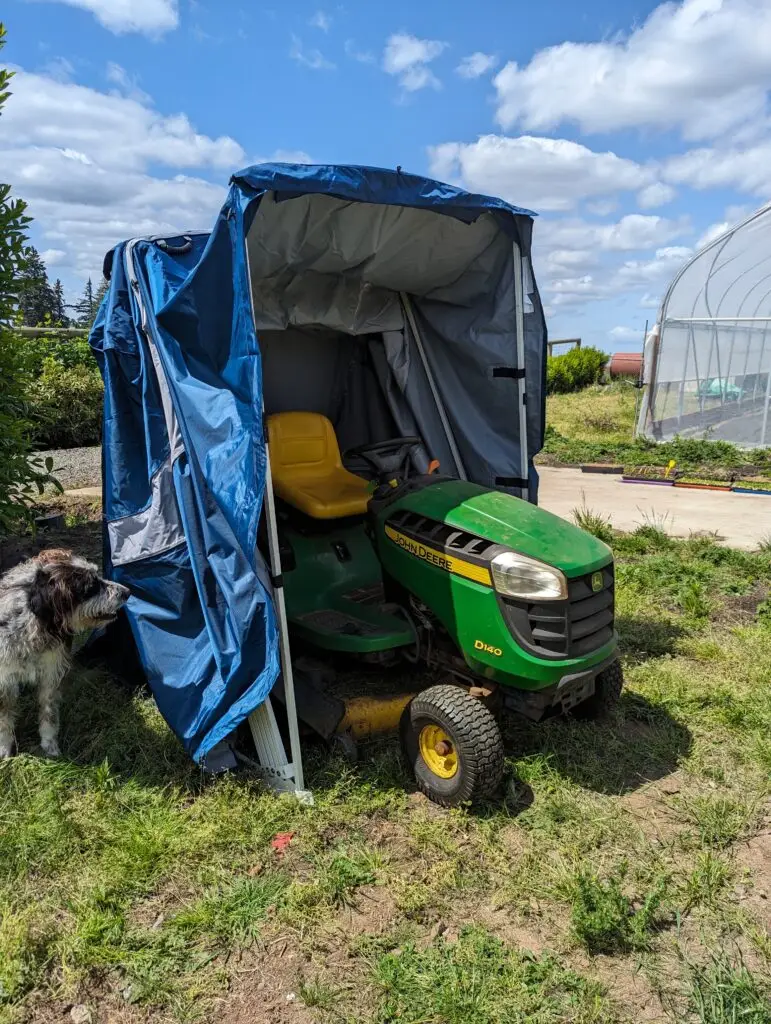
Materials and tools you need
Choose materials that are weather resistant and easy to work with. Here are common options and tools to collect before you start.
- Heavy-duty outdoor fabric such as marine canvas, polyester tarp fabric, or ripstop nylon. These resist UV and water.
- Waterproof seam tape or heat-bond tape. This seals seams and limits leaks.
- Polyester thread and heavy-duty needles for sewing machines. Use upholstery or outdoor thread.
- Elastic cord, bungee cord, or adjustable straps for a snug fit.
- Scissors, measuring tape, pins, chalk or fabric marker, and a sewing machine capable of handling thick fabric.
- Optional: 1-inch webbing, buckles, ventilation grommets, and reflective tape for safety.
Select a material based on climate. Choose breathable fabric in humid zones to reduce mildew. Pick heavier waterproof fabric in wet climates to keep water out.
Measure and plan: how to make a lawn mower cover that fits
Accurate measurements ensure a clean fit and reduce fabric waste. Use three basic measurements for most mowers. Write them down.
- Measure overall length from front wheel to rear wheel.
- Measure width across the widest point, usually the cutting deck.
- Measure height at the tallest point, often the handle when folded or the seat on a riding mower.
Add seam allowance and extra room for elastic or hems. Add 6 to 8 inches to length and width for drape and seams. Add 4 to 6 inches to height for air flow and to avoid tight strain on material.
Sketch a simple pattern on paper. Mark where straps, vents, and handle openings will go. Plan where heavy wear will occur and reinforce those spots.

Step-by-step sewing method to make a lawn mower cover
This sewing method works for push mowers and mid-size riding mowers. Follow each step slowly for the best result.
- Cut fabric panels from your pattern. Make one top panel and two side panels for most push mowers. For riding mowers, cut front and rear panels too.
- Hem the edges of each panel by folding 1/2 inch twice and stitching. This prevents fraying.
- Join panels by sewing right sides together. Use a 1/2 inch seam allowance and double-stitch high-stress seams. Reinforce corners with a box stitch.
- Apply waterproof seam tape on the inside of sewn seams. Press with an iron if using heat-bond tape, or seam sealant if preferred.
- Create an elastic hem. Fold up 2 inches along the bottom edge, sew leaving a 2-inch gap, feed elastic or bungee, and stitch the gap closed. Test the tension for snug but not tight fit.
- Add vents by installing grommets near the engine area. This prevents moisture buildup. Space them evenly on sides or back.
- Attach straps or buckles. Sew webbing loops on the underside and add quick-release buckles if you want security in wind.
Test the cover on the mower. Walk around and mark tight spots. Add small patches for reinforcement where needed. A proper test reduces tear risk in heavy wind.

No-sew and budget ways to make a lawn mower cover
If you lack a sewing machine, use a tarp or recycled materials. These methods are quick and cheap.
- Tarp and bungee method: Drape a tarp over the mower. Secure corners with bungee cords to the wheels or frame. Add duct tape patches for holes.
- PVC frame and plastic sheeting: Build a lightweight frame from PVC pipe. Drape heavy plastic over the frame and clamp edges. This keeps plastic off the mower and prevents condensation.
- Repurposed truck bed liner or old tent fabric: Cut to shape and use heavy-duty adhesive tape or rivets to join panels.
These options work short-term. They may not last as long as a sewn cover. They are great for one-season protection or emergency use.

Waterproofing, ventilation, and storage best practices
A covered mower can still suffer from moisture trapped inside. Balance waterproofing and airflow.
- Use seam tape and exterior-grade thread for durable seams.
- Add two to four grommet vents on lower sides to allow airflow. Place vents away from direct rain paths.
- Store the mower on a slightly raised pad to avoid ground moisture. Use support blocks under the wheels if storing on grass.
- Remove battery or cover terminal with special caps to prevent corrosion. Store fuel drained or stabilized as recommended.
Seasonal care matters. Clean the mower before covering to avoid trapping grass and oil. Check the cover monthly for tears or moisture and air out the mower occasionally.
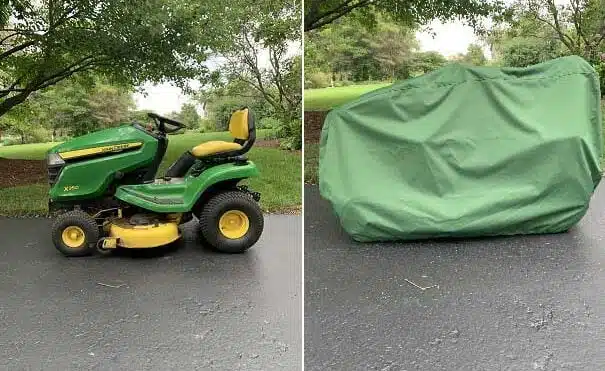
Troubleshooting, variations, and custom features
Common problems and easy upgrades help your cover last longer.
- Issue: Water pools on top. Solution: Add a center seam to create a peak or use PVC spine for runoff.
- Issue: Mold or mildew. Solution: Increase vents and clean the mower before covering. Use breathable fabric.
- Upgrade: Add zipper access for quick checks without removing the whole cover.
- Upgrade: Sew reflective strips for visibility if you store near driveways or roads.
- Variation: Add a clear pocket for manuals or small tool storage sewn to the inside.
If your mower has an unusual shape, make a three-panel pattern. Test-fit with cheap fabric first. This saves good material and reduces mistakes.
Personal experience and tips from my projects
I’ve built covers for three different mowers over ten years. I learned small lessons the hard way.
The first cover I made had no vents. It trapped moisture and made metal parts rust. I added grommets on the sides for better airflow, and rust stopped forming.
I also once used lightweight thread and tore a seam during wind. I now use polyester upholstery thread and double-stitch all seams. This small change saved me a lot of repairs.
Mistakes to avoid:
- Don’t skip seam sealing if you want waterproofing.
- Don’t make the cover too tight; stress at seams causes rips.
- Don’t use thin fabric if you store the mower outdoors year-round.
These simple fixes make a DIY cover last as long as many store-bought ones. I still recommend testing with less expensive fabric first for odd shapes.

PAA-style questions about how to make a lawn mower cover
How long does a DIY lawn mower cover last?
A well-made cover can last 3 to 7 years depending on material and exposure. Regular care and repairs extend its life.
Can I use a tarp instead of sewing a cover?
Yes. A tarp works for short-term protection and is quick to set up. Expect less fit and shorter life than a sewn cover.
Do I need vents on the cover?
Yes, vents reduce condensation and rust risk. Add grommets or mesh panels away from direct rain.
Frequently Asked Questions of How to make a lawn mower cover
What fabric is best to make a lawn mower cover?
Marine-grade canvas or heavy polyester are best for long-term outdoor use. Ripstop nylon is lighter and works for shorter-term covers.
How do I measure my mower for a cover?
Measure length, width, and height at the tallest point. Add 4 to 8 inches for seams and drape.
Can I machine wash a homemade cover?
It depends on fabric. Small covers may be machine washed on gentle. Larger heavy covers are best hand-washed or spot-cleaned.
How do I secure the cover in windy conditions?
Use elastic hem cords, bungee ties around wheels, or webbing straps with buckles. Tie to the frame if possible.
Is seam tape necessary?
Seam tape greatly improves water resistance and is recommended if you need waterproof seams. It adds little cost and big benefits.
Can I add a zipper for quick access?
Yes. Install a heavy-duty outdoor zipper along a side seam for easy checks without full removal.
How do I prevent mold under the cover?
Clean the mower and allow parts to dry before covering. Add vents and check the mower monthly to air it out.
Conclusion
Making a custom cover is a practical skill that saves money and protects your equipment. Follow clear measurements, choose durable materials, and add vents and reinforcements for the best results. Start with a simple pattern, test-fit with cheap fabric, and refine your design for a durable finish. Try a small project this weekend and share your results in the comments or subscribe for more DIY outdoor guides.
