


Remove the hood by disconnecting the spark plug, removing fasteners, and lifting the cover straight up.
I have worked on dozens of lawn mowers and taught homeowners how to maintain them. This article explains how to take the cover off a Toro lawn mower with clear steps, safety checks, and model-specific notes. You will learn what tools you need, how to avoid common mistakes, and how to put everything back together safely. Read on for a practical, expert-tested guide that saves time and keeps your mower in good shape.

Why remove the cover of a Toro lawn mower and when to do it
Removing the cover gives you access to the engine, carburetor, air filter, spark plug, and electrical parts. You should remove the cover for cleaning, troubleshooting, replacing parts, or preparing for winter storage. Knowing how to take the cover off a Toro lawn mower makes routine service faster and less stressful.
Common reasons to remove the cover
- Inspecting belts, blades, and wiring.
- Replacing the air filter or spark plug.
- Cleaning grass and debris build-up.
- Fixing small fuel or electrical problems.
Personal note: I once left a clump of wet grass under the cover and the engine stalled mid-season. After that, I always remove the cover for a quick inspection after heavy mowing.
Tools and parts you'll need before you start
Gather simple tools and safety gear. Having the right items makes removing the cover quick.
Essential items
- Socket set or wrench for bolts.
- Screwdrivers (flat and Phillips).
- Pliers for clips and clamps.
- Safety gloves and eye protection.
- Rag or small container for bolts.
- A flashlight for tight spaces.
Optional helpful items
- Magnetic tray to keep fasteners.
- Small brush to clean around parts.
I keep a small pouch with the tools above in my garage. It saves time when I need to remove a cover on short notice.

Safety checklist before you remove the cover
Safety first. Always follow a short checklist to avoid injury or damage.
Safety steps
- Turn off the engine and let it cool for at least 15 minutes.
- Disconnect the spark plug wire to prevent accidental starts.
- Remove the key or disconnect the battery if your model has one.
- Wear gloves and eye protection to avoid cuts and debris.
A careful step here prevents dangerous accidents. I once skimmed the spark wire removal and felt uneasy; never skip it.
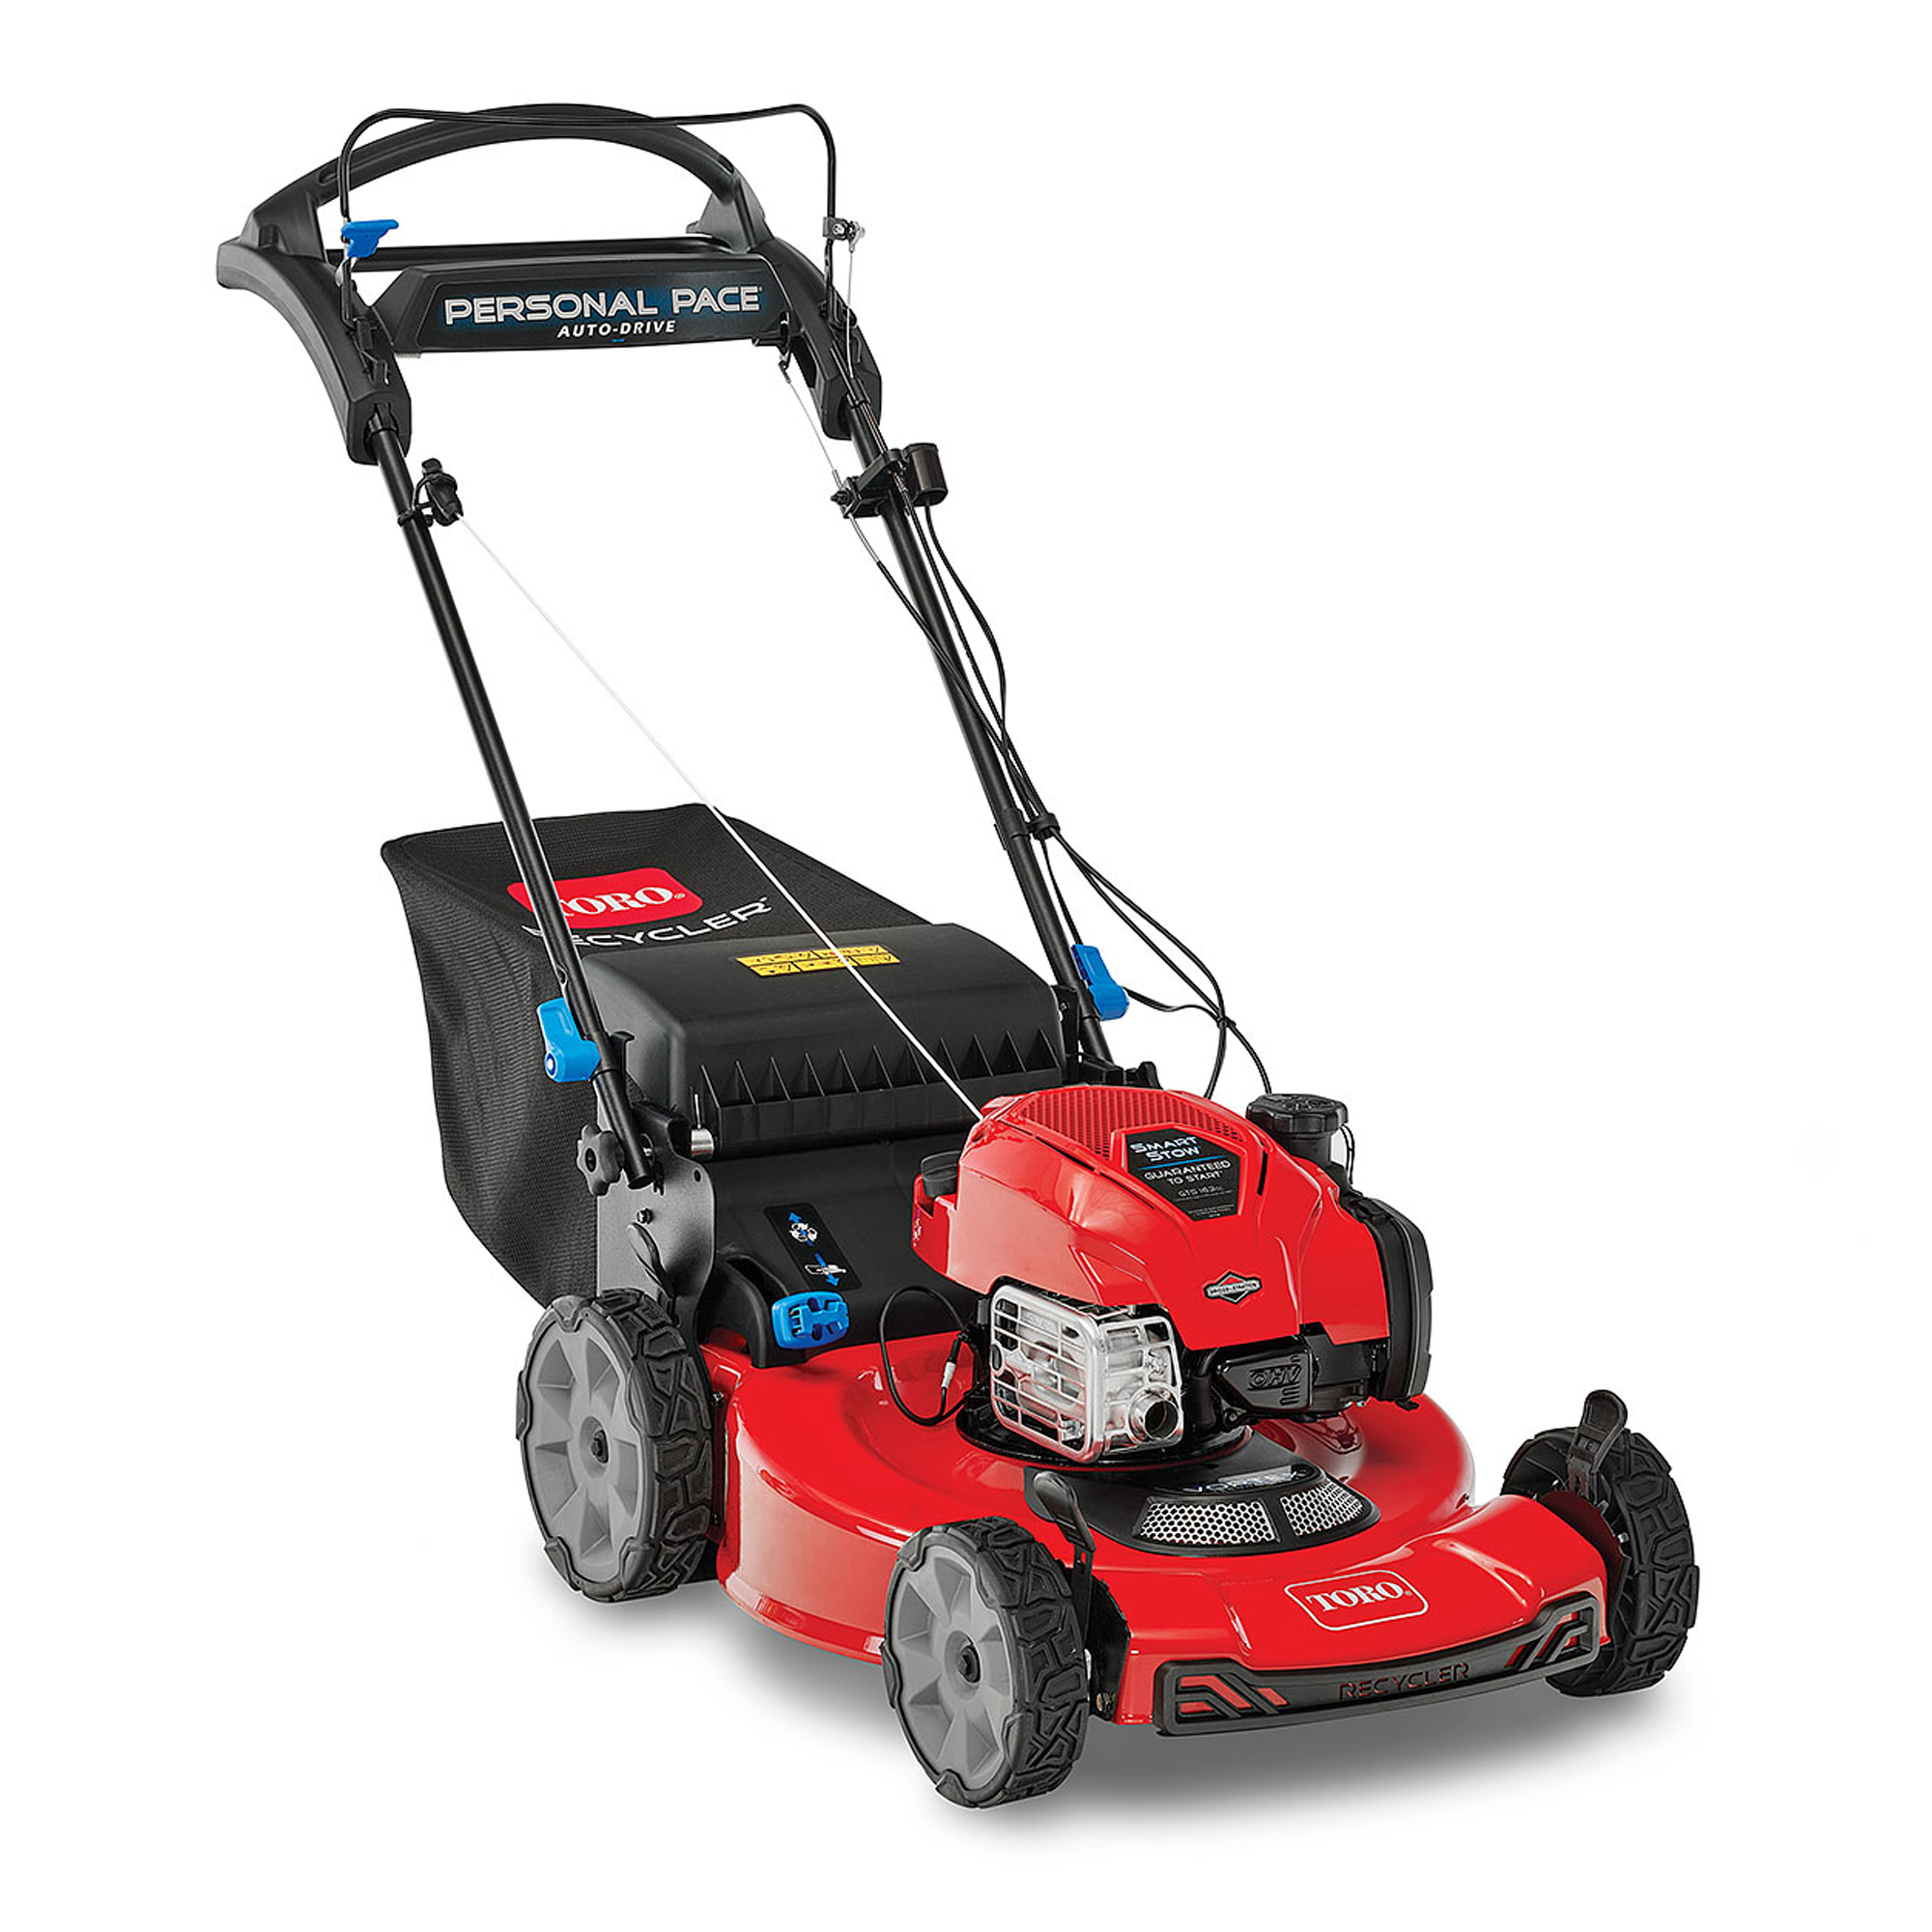
How to take the cover off a Toro lawn mower: Step-by-step guide
The steps below work for many Toro push mowers and some riding models. Follow them in order and keep fasteners organized.
Step-by-step removal
- Move the mower to a flat area and engage the parking brake if applicable.
- Turn off the fuel valve on models that have one or close the fuel cap to limit spills.
- Disconnect the spark plug wire and tuck it away from the terminal.
- Locate all fasteners that hold the cover. These can be screws, bolts, or plastic clips.
- Remove screws or bolts using the proper socket or screwdriver. Keep them in a small container.
- If there are plastic clips, use pliers or a flat screwdriver to pry them out carefully.
- Check for any attached cables or hoses. Unclip any hood-release cables or discharge chute attachments.
- Lift the cover straight up. Some covers slide backward then lift, so check for tabs that must be aligned.
- Set the cover aside on a clean surface with fasteners nearby.
Tips for a smooth process
- Work in good light to find hidden clips.
- Use a magnet or tray for small parts.
- If a bolt is tight, apply steady pressure. Avoid rounding the head.
I once stripped a bolt by using the wrong size socket. Match the tool to the fastener to avoid damage.

Model variations and common fasteners on Toro mowers
Toro makes many models. Fastener types and cover designs vary. Knowing the usual patterns helps.
Common designs
- Push mowers often use a few screws and plastic clips.
- Rear-engine and riding Toro mowers use bolts and hinge pins.
- Some models have quick-release latches or a single center bolt.
How to identify the fastener type
- Look for plastic tabs around the skirt for clips.
- Check the engine cowling for hex bolts.
- Follow the hood seam to find hidden screws under decals or trim.
If you have the owner’s manual, check it for a diagram. Manuals often show exact cover removal steps for your Toro model.

Troubleshooting stuck covers and stripped fasteners
If the cover won't budge, do not force it. Forcing can break tabs or damage the housing.
Solutions for stuck covers
- Apply penetrating oil to rusty bolts and wait 10–15 minutes.
- Use a heat gun on plastic tabs to soften them slightly, then pry gently.
- If a bolt head is rounded, use a bolt extractor or locking pliers.
- Replace damaged clips instead of forcing the cover back on.
When to seek help
- If a bolt is seized to the point of breaking.
- If structural parts are bent or cracked and you lack spare parts.
I fixed a seized bolt with penetrating oil and patience. Rushing leads to broken tabs and extra cost.
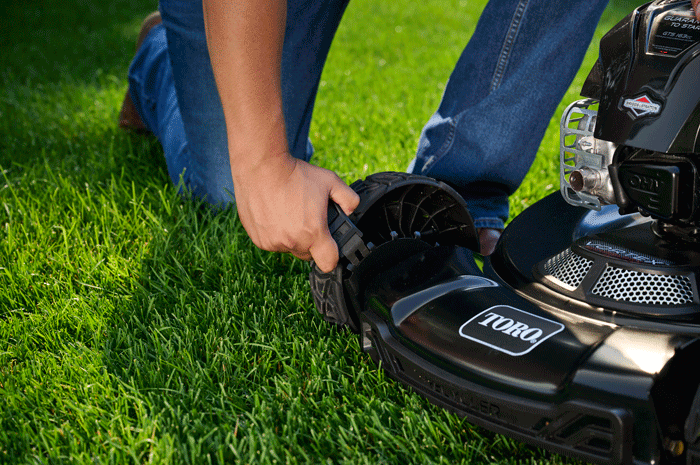
Cleaning, inspection, and minor repairs after removing the cover
Once the cover is off, take the chance to clean and inspect parts. This keeps your mower running well.
Key inspection points
- Air filter: clean or replace if dirty.
- Spark plug: inspect for wear and correct gap.
- Fuel lines: check for cracks or leaks.
- Belts and pulleys: look for wear or misalignment.
- Wiring: ensure connectors are tight and free from corrosion.
Cleaning tips
- Use a brush and compressed air for debris.
- Wipe down surfaces with a rag and mild cleaner.
- Avoid spraying water into electrical parts.
I found a nicked fuel line under the cover once. Replacing it early prevented a mid-season breakdown.

Reassembly: how to put the cover back on correctly
Putting the cover back is the reverse process. Follow these small checks to avoid mistakes.
Reassembly steps
- Position the cover over the mower, aligning tabs and cable slots.
- Reattach any cables or hoses you unclipped.
- Insert fasteners loosely at first to ensure correct alignment.
- Tighten screws or bolts in a cross pattern if there are multiple fasteners.
- Reconnect the spark plug wire last.
- Test the mower in a safe area to confirm everything is secure.
Do not overtighten plastic screws. Tighten until snug. Over-torquing can crack the plastic.
Maintenance tips after removing the cover
Regular checks reduce major repairs. Make cover removal part of seasonal maintenance.
Routine maintenance suggestions
- Inspect under the cover every 25 hours of use.
- Replace the air filter annually or every 50 hours.
- Change the oil and spark plug per Toro’s schedule.
- Keep fastener kit handy for replacement clips and screws.
I set a reminder on my phone to inspect the mower monthly. Small checks save time and money later.
Frequently Asked Questions of How to take the cover off a Toro lawn mower
What tools do I need to remove a Toro mower cover?
You usually need a socket set, screwdrivers, and pliers. Wear gloves and eye protection for safety.
How long does it take to remove the cover on a Toro mower?
For most push mowers it takes 10 to 20 minutes. Riding mowers may take 20 to 40 minutes depending on complexity.
Do I need to drain the fuel before removing the cover?
You do not usually need to drain fuel. Close the fuel valve or remove the spark plug and work carefully to avoid spills.
Can I remove the cover alone or do I need help?
Most covers can be removed by one person. Larger riding mower covers may be heavy; ask for help to avoid dropping or bending parts.
What if the cover is held by plastic clips and they break?
Replace broken clips with new ones from a parts store. Do not force the cover back on if clips are missing.
Conclusion
Removing the cover on a Toro lawn mower is a simple skill that saves time and prevents costly repairs. Follow the safety checks, gather the right tools, and follow the step-by-step guide to remove and reinstall the cover with confidence. Take a few minutes each season to inspect under the hood, and you will avoid surprises. Try these steps on your mower this weekend, and leave a comment about your experience or any questions you have.
