
How To Winterize A Husqvarna Automower: Easy Guide
If you live in a cold part of the United States, winterize your Husqvarna Automower before freezing weather, snow, and long periods of lawn dormancy arrive. The basic process is simple: clean the mower, fully charge the battery, switch it off, and store the mower, charging station, and power supply indoors in a dry place above freezing.
Leave the boundary and guide wires in the lawn unless your model’s manual says otherwise. Protect any exposed wire connectors from moisture. Before spring mowing begins, inspect the system, reconnect the station, and run a test cycle.
This guide applies to many Husqvarna Automower models sold in the U.S. Exact steps can vary by model, battery type, charging station, and installation method. Always check the manual for your specific Automower before disconnecting parts or removing the battery.

Why winter storage matters
Winter storage protects the mower’s battery, electronics, charging contacts, and outdoor power connections. Snow, ice, standing water, and repeated freeze-and-thaw cycles can damage parts that are not designed to remain outside for months without care.
Cold weather also creates a battery risk. A lithium-ion battery should not be charged when it is below freezing. Moisture can freeze around the charging contacts, and wet grass left under the mower can harden into dirt that is difficult to remove later.
Husqvarna’s U.S. support guidance generally recommends storing the Automower and charging station indoors during the off-season. The battery should be fully charged before storage, and the mower should be switched off.
Winterizing is not the same as simply parking the mower. A proper process includes:
- Cleaning the mower and charging contacts.
- Checking the blades and underside.
- Charging the battery fully.
- Turning off the mower.
- Moving the mower, charging station, and power supply indoors.
- Protecting outdoor cable connections.
- Leaving buried boundary and guide wires in place when suitable.
The main exception is the installation. If your system uses exposed cables, removable connectors, an EPOS reference station, or a special robotic mower accessory, follow the instructions for that system.
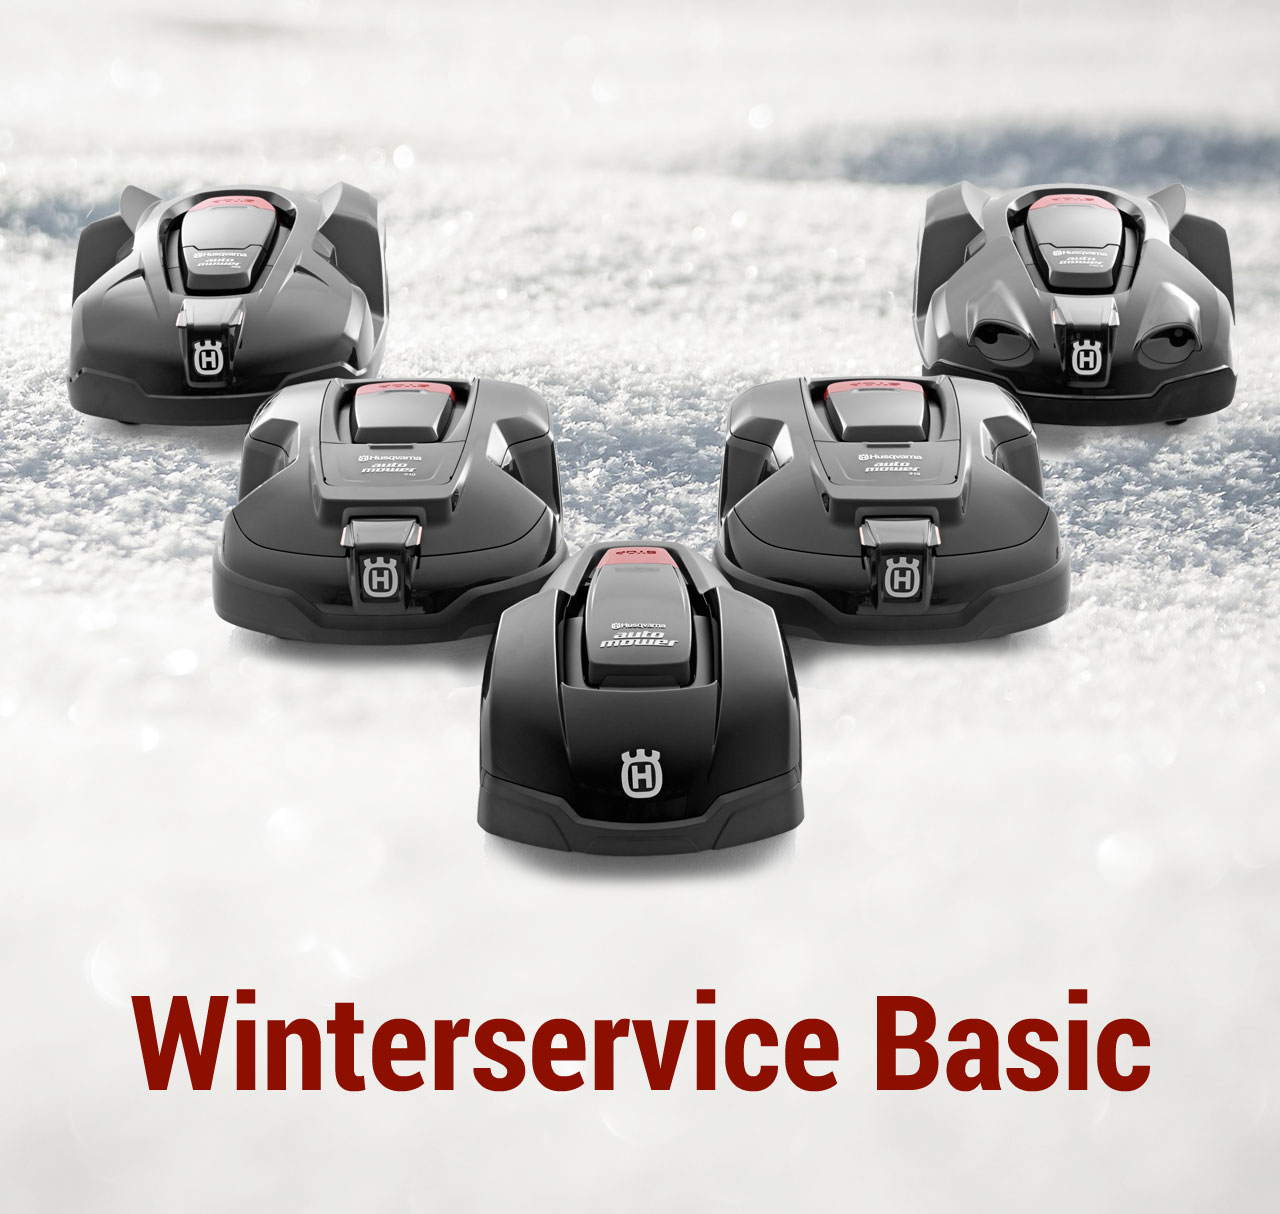
When should you winterize a Husqvarna Automower?
Winterize your Automower before the ground freezes or regular mowing stops. In much of the northern United States, this may be late October or November. In colder mountain areas, the timing may be earlier. In the South, the mower may continue working through winter unless frost, snow, or dormant grass prevents normal use.
Use these signs rather than a fixed calendar date:
- Grass growth has slowed or stopped.
- Frost remains on the lawn for much of the day.
- Snow or ice is forecast.
- The ground stays wet for long periods.
- The mower will not be used for several weeks.
- Temperatures may fall below freezing where the mower or power supply is stored.
Do not leave the Automower outside just because the weather forecast shows one warm day. A short warm spell does not remove the risk from a long cold period.
If you plan to use the mower during mild winter weather, keep it out of operation during frost, snow, and frozen ground. Wet, frozen grass can reduce traction and may clog the cutting system.

What you need before starting
gather these items before you begin:
- The Automower owner’s manual.
- A soft brush or dry cloth.
- A damp cloth for light dirt.
- A small brush for charging contacts.
- Work gloves.
- A mild cleaning solution, if needed.
- A dry indoor storage area.
- A label or bag for loose screws and parts.
- A phone or camera to record cable connections.
Do not use a pressure washer. High-pressure water can force moisture into bearings, seals, motors, and electronic parts.
Turn the mower off before cleaning the underside or handling the blades. Depending on the model, the main switch may be beneath the top cover or in another protected location. If you cannot confirm that the mower is off, stop and check the manual.
Never lift the mower by the blade disc. Use the approved lifting points or hold the body securely away from the cutting system.

How to winterize a Husqvarna Automower
1. Finish the last mowing cycle
Let the Automower complete its final scheduled run, then remove it from normal operation. If the lawn is wet or covered with frost, do not send the mower out for one last cut.
A dry final run makes cleaning easier. It also reduces the amount of wet grass that remains beneath the deck.
Before removing the mower, check the display or Automower Connect app for warnings. Resolve important alarms first, especially messages related to the battery, charging system, boundary wire, or drive system.
2. Clean the mower
Switch off the mower before cleaning it.
Brush loose grass and soil from the top, wheels, body, and underside. Turn the mower carefully so you can inspect the cutting area. Remove packed grass from around the wheels and blade disc with a soft tool.
Use only a lightly damp cloth where needed. Keep water away from openings, electrical contacts, charging components, and the control panel.
Clean the charging contacts on both the mower and charging station. Dirty contacts can cause charging problems when you restart the system in spring.
Allow the mower to dry fully before storage. Do not put a damp mower into a sealed plastic container or tightly wrapped cover.
3. Inspect the blades and blade disc
Check the blades for:
- Cracks.
- Severe wear.
- Bends.
- Rust.
- Missing screws.
- Grass packed around the blade disc.
Replace damaged blades before the next mowing season. Many Automower models use small pivoting blades secured by screws. Use the correct replacement parts and tighten them according to the model manual.
Do not sharpen disposable Automower blades unless Husqvarna specifically permits it for your model. A damaged or unbalanced blade can reduce cutting quality and may create a safety hazard.
You can install new blades before storage or at spring startup. Installing them in spring avoids leaving new metal parts exposed to storage moisture, but replacing them now gives you a ready-to-use mower later. Either choice is acceptable if the blade area is clean and dry.
4. Fully charge the battery
Place the mower in the charging station and allow it to charge fully. A full charge helps reduce the risk of deep discharge during long-term storage.
The charging station must have power for this step. If the station or power supply shows damage, do not use it. Inspect the cord, plug, connectors, and housing before charging.
Once the battery is full, remove the mower from the station and switch it off using the main power switch. Do not leave the mower powered on for months unless the manual for that exact model instructs you to do so.
Battery details vary by model. Some models have a user-accessible battery compartment. Others require battery removal by an authorized service center. Do not open a sealed battery compartment or disconnect internal battery parts unless Husqvarna documents that procedure for your model.
5. Store the mower indoors
Store the Automower in a clean, dry indoor location such as a garage, basement, utility room, or shed that stays above freezing.
Choose a place that is:
- Protected from snow and rain.
- Free from condensation.
- Away from direct heat.
- Away from gasoline, fertilizer, solvents, and other chemicals.
- Safe from rodents and other pests.
- Unlikely to be struck or buried under heavy objects.
Do not store the mower beside a furnace, heater, wood stove, or other high-heat source. Excessive heat can harm the battery and plastic parts.
Keep the mower in its normal upright position unless the manual gives another storage position. Avoid placing heavy items on top of it.
6. Remove and store the charging station
Disconnect power before removing the charging station.
Bring the charging station indoors for the winter when Husqvarna’s instructions for your model call for indoor storage. Clean it with a dry or slightly damp cloth and let it dry before storage.
Do not leave the charging station outside under a tarp as a substitute for indoor storage. A tarp may block some rain but cannot reliably prevent condensation, ice, snow load, or freezing temperatures.
If removing the station from the lawn, mark its position or photograph the setup. This can make spring reinstallation easier.
7. Store the power supply correctly
Unplug the power supply from the wall outlet. Disconnect it from the charging station according to the manual, then store it indoors with the mower and station.
Keep the power supply dry and protected from extreme temperatures. Do not coil the cable tightly around the power supply. Avoid sharp bends, crushed sections, and damage to the insulation.
If the power supply has been exposed to water, shows cracking, or has a damaged plug, replace it or have it inspected before spring use. Do not repair a damaged power supply with tape.
8. Decide what to do with the boundary and guide wires
In a typical buried-wire installation, leave the boundary wire and guide wire in the ground. Removing them creates unnecessary work and increases the chance of cable damage.
Protect the cable ends if you disconnect them from the charging station. Keep connectors clean, dry, and sealed as directed by the installation manual. Label each connection before disassembly.
Do not cut buried wires merely to remove the charging station. If the wire must be disconnected, use the correct connector and keep the exposed ends protected from water and dirt.
For an above-ground installation, inspect the cable and its fasteners. Replace damaged sections and secure loose cable before spring.
EPOS installations may have different storage requirements because they use a reference station and satellite-based positioning rather than a standard boundary wire system. Store the mower, charging station, and reference equipment according to the model-specific instructions.
9. Record the installation
Take clear photos of:
- Charging station placement.
- Cable connections.
- Guide wire routing.
- Power supply connections.
- Any special switches or accessories.
- The mower’s settings, if you plan to reset them.
Write down the mower model, PIN or account details, and any fault codes. Keep this information in a safe place. Do not share your security PIN publicly.
A short record can save time when the first spring mowing day arrives.

Winter storage checklist
Use this checklist before putting the system away:
| Task | Complete |
|---|---|
| Final mowing cycle completed in dry conditions | ☐ |
| Mower switched off | ☐ |
| Body and underside cleaned | ☐ |
| Charging contacts cleaned | ☐ |
| Blades and blade disc inspected | ☐ |
| Battery fully charged | ☐ |
| Mower stored indoors and dry | ☐ |
| Charging station disconnected and stored as required | ☐ |
| Power supply unplugged and stored indoors | ☐ |
| Boundary and guide wires labeled or protected | ☐ |
| Installation photos taken | ☐ |
| Damaged parts noted for spring repair | ☐ |
The system is ready for storage when the mower is clean, dry, powered off, and protected from freezing conditions. The charging station and power supply should also be indoors when required by the model instructions.

What to do if something goes wrong
The mower will not charge before storage
First, check that the wall outlet has power and that the power supply is connected correctly. Clean the charging contacts on the mower and station with a dry cloth or soft brush.
Make sure the mower is correctly positioned in the station. Check for an active error message in the display or Automower Connect app.
If the contacts are damaged, the charger remains inactive, or the battery warning returns, stop using the system and contact an authorized Husqvarna service provider.
The underside is wet
Dry the mower completely before storage. Do not use a hair dryer, heater, or heat gun near the battery or electronics.
Place the mower in a well-ventilated indoor area until all moisture is gone. If water entered the body or the mower behaves abnormally, have it inspected before charging.
The battery is already empty
Do not store the mower with a fully discharged battery. Charge it in a dry, safe location only when the mower and charging system are at a suitable temperature.
If the battery will not accept a charge, do not try to bypass the charger or connect it to another power source. Arrange service through Husqvarna or an authorized dealer.
The boundary wire breaks during removal
Do not guess at the repair. Locate the break, use a connector approved for the installation, and test the loop before storing the system.
If you cannot locate the break, leave the installation in place and have it repaired before spring. A damaged boundary loop can prevent the mower from operating correctly.
You cannot move the charging station
If the station must remain outdoors, follow the exact manual for your model and protect the electrical connections from moisture. Do not assume that a plastic cover makes the station winter-safe.
For harsh climates, moving the station and power supply indoors is the safer approach when the installation allows it.

Common winterization mistakes to avoid
Leaving the mower outside under a cover
A cover does not prevent freezing temperatures or condensation. Store the mower indoors whenever possible.
Storing the mower with a low battery
A deeply discharged battery may not recover normally after months of storage. Fully charge it before switching the mower off.
Using a pressure washer
Water forced into the body can cause damage that is not visible at once. Use a brush and cloth instead.
Forgetting the power supply
The power supply is part of the charging system. It also needs a dry, protected storage location.
Cutting the boundary wire
Removing the charging station does not usually require removing buried wire. Leave the wire installed unless the manual or a service procedure requires otherwise.
Charging a cold battery
Move the mower to a suitable indoor temperature before charging. Never try to warm a frozen battery with direct heat.
Mixing up wire connections
Label wires and take photos before disconnecting anything. A reversed or incorrect connection can create a spring setup problem.

How to prepare the Automower in spring
Bring the mower and charging equipment to a dry area at normal indoor temperature. Inspect the body, wheels, blades, charging contacts, cable insulation, and connectors.
Reconnect the charging station and power supply according to the manual. Check that the boundary and guide wires are connected correctly. Look for signs of rodent damage, corrosion, cracked plastic, or water entry.
Charge the mower before sending it onto the lawn. Update the mowing schedule only after confirming that the system works.
Run a short test cycle and check that the mower:
- Leaves the station correctly.
- Follows the guide wire.
- Detects the boundary.
- Cuts without unusual noise.
- Returns to the station.
- Charges normally.
Replace worn blades before regular mowing begins. If the mower shows a persistent error, stop the test and use the model’s troubleshooting instructions or contact an authorized Husqvarna service provider.

Frequently asked questions
Can I leave my Husqvarna Automower outside during winter?
It is generally better to store the mower indoors during freezing weather, snow, and long periods of nonuse. A cover does not provide the same protection as a dry indoor location.
Should I remove the Automower battery?
Only remove the battery if Husqvarna provides that procedure for your exact model. Some battery compartments are not intended for owner service. When in doubt, leave the battery installed and ask an authorized service center.
Should I remove the boundary wire for winter?
Usually, no. Leave buried boundary and guide wires in place. Disconnect and protect only the ends that connect to the charging station, and follow the installation manual.
Does the battery need to stay connected to a charger all winter?
Do not assume that it does. Husqvarna’s model instructions determine the correct storage method. For many models, the practical steps are to fully charge the battery, switch off the mower, and store the system indoors.
Can I store the Automower in an unheated garage?
An unheated garage may be suitable only if it stays dry and the temperature remains within the range specified for your model. If the garage can freeze or develop condensation, use a warmer indoor location.
What should I do if my Automower will not work after winter?
Check the power supply, charging station, connectors, boundary wire, battery charge, and error messages in that order. If the battery will not charge or a fault remains, contact Husqvarna support or an authorized service provider.
Final recommendation
Winterize your Husqvarna Automower before the first sustained freeze. Clean and dry the mower, inspect the blades, fully charge the battery, switch the mower off, and store the mower, charging station, and power supply indoors. Leave buried boundary and guide wires in place, but protect their connectors.
For the final word on battery removal, temperature limits, EPOS equipment, and charging instructions, use the owner’s manual for your exact model through Husqvarna’s U.S. Automower support page.


