


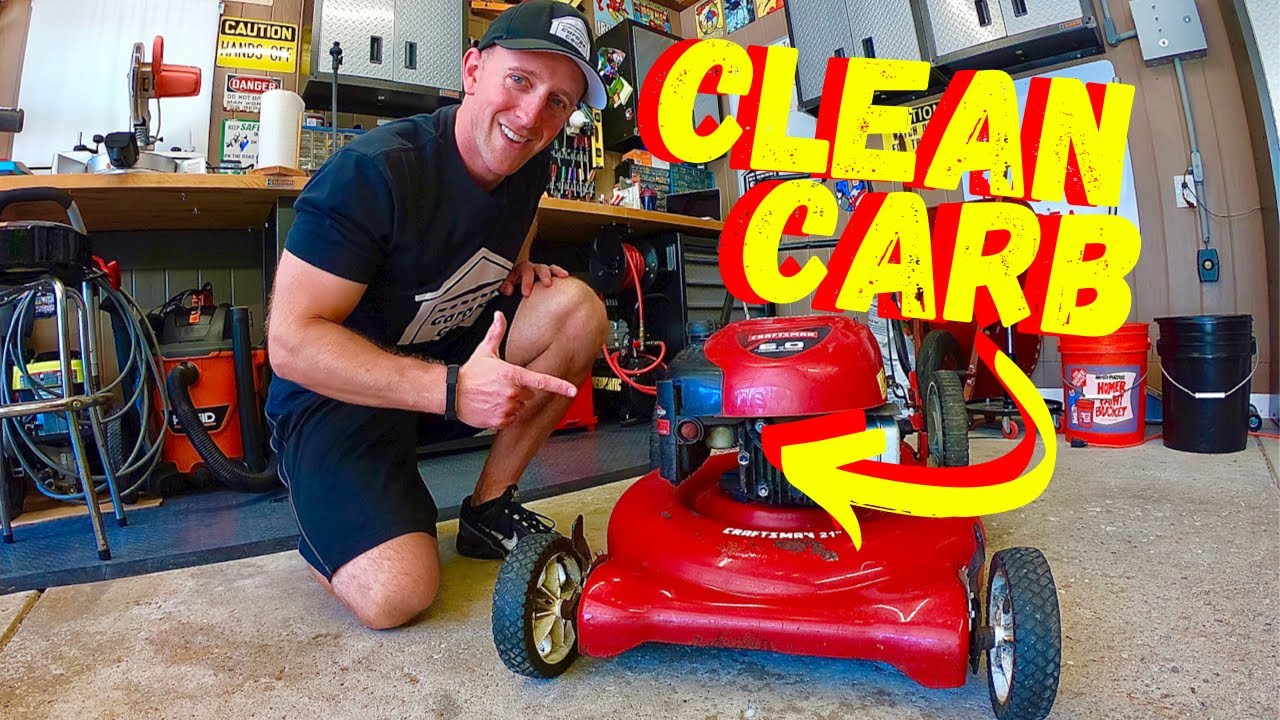
Clean a lawn mower carburetor by removing debris, spraying carb cleaner, and checking the jets, bowl, float, and air passages.
A dirty carburetor can make a mower hard to start, cause surging, or stop the engine after a few minutes. This guide explains how to clean lawn mower carburetor parts safely, with simple steps that work for most push mowers and many riding mowers. You will also learn when cleaning is enough, when a carburetor needs a rebuild, and which mistakes can damage the engine.

Why a Lawn Mower Carburetor Gets Dirty
The carburetor mixes gasoline with air so the engine can run. It contains small passages and jets that control fuel flow. Even a small amount of dirt or gum can block these passages.
Old gasoline is one of the most common causes of carburetor trouble. Fuel can lose quality after sitting for weeks or months, especially in a warm shed. It may leave a sticky varnish that acts like glue inside the carburetor.
Other common causes include:
• Dust entering through a damaged or loose air filter
• Water in the fuel tank
• Rust or dirt inside the fuel system
• Ethanol fuel absorbing moisture
• A mower sitting unused during winter
• A cracked fuel line or dirty fuel filter
A dirty carburetor often causes symptoms before the mower stops working completely. The engine may crank but fail to start, start only with starting spray, surge at idle, or die when you engage the blade.

Signs Your Mower Carburetor Needs Cleaning
Before removing parts, look for clues. A carburetor problem can feel similar to a bad spark plug, blocked air filter, or stale fuel. Checking several symptoms helps you avoid unnecessary work.
Common signs include:
• The engine will not start after several pulls
• The engine starts but dies within a few seconds
• The mower runs only when the choke is partly closed
• The engine surges up and down
• The engine loses power when cutting thick grass
• Fuel leaks from the carburetor
• Black smoke comes from the muffler
• The mower runs poorly after winter storage
A mower that runs only with the choke closed often has a restricted fuel passage. The choke reduces air and creates a richer fuel mix. This can hide a clogged main jet for a short time, but it does not fix the cause.
Black smoke points to too much fuel or too little air. In that case, inspect the air filter as well as the carburetor. If the spark plug is wet with fuel, allow the cylinder to dry before trying again.
Tools and Supplies You Will Need
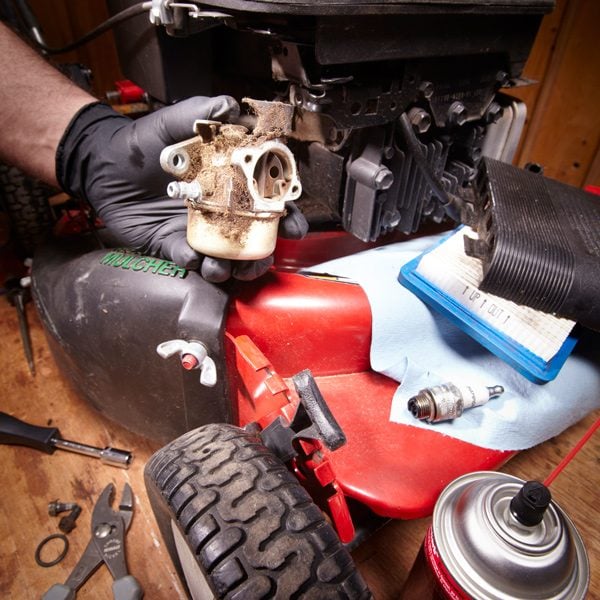
Gather your tools before you begin. A prepared work area makes the repair faster and prevents small parts from getting lost.
You may need:
• Fresh gasoline approved for small engines
• Carburetor cleaner spray
• A socket set or nut driver
• Flat and Phillips screwdrivers
• Needle-nose pliers
• A small wire brush
• Clean rags
• A plastic container for old fuel
• Safety glasses
• Chemical-resistant gloves
• A replacement carburetor gasket
• A replacement air filter
• A small brass or nylon jet-cleaning tool
Use a jet-cleaning tool made for small engines. Do not force a thick steel wire through a tiny brass jet. It can enlarge the opening and change the fuel mixture.
Avoid using compressed air directly on your eyes, skin, or delicate carburetor parts. Wear eye protection, because fuel and cleaner can spray when pressure releases.

Safety Steps Before Cleaning
Gasoline is highly flammable. Work outdoors or in a well-ventilated garage away from cigarettes, heaters, pilot lights, and sparks.
Follow these safety steps:
-
Turn the engine off and let it cool fully.
-
Disconnect the spark plug wire and move it away from the plug.
-
Close the fuel shutoff valve if the mower has one.
-
Drain the fuel tank into an approved container.
-
Clean spilled gasoline before continuing.
-
Keep children and pets away from the work area.
-
Take photos before removing hoses, springs, or linkages.
The spark plug wire is easy to overlook. If the blade moves or the engine turns while you work, the mower can cause serious injury. Disconnecting the wire is a basic step in safe small-engine service.
Check your owner’s manual before starting. Carburetor layouts differ by brand and engine model. The manual can also show the correct gasket order, screw locations, and adjustment limits.
How to Clean Lawn Mower Carburetor Step by Step
The following process works for many common gasoline push mowers. Some carburetors are mounted behind the air filter, while others sit under a metal or plastic cover.
1. Remove the air filter housing
Take off the air filter cover and remove the filter. Set aside the screws in a small tray.
Inspect the filter. If it is paper, replace it when it looks dirty or oily. If it is a washable foam filter, clean it with mild soap and water, let it dry, and add the correct amount of filter oil if the manual requires it.
Do not run the engine without an air filter for normal use. Unfiltered dust can wear the cylinder and piston.
2. Photograph the linkage and fuel line
Before pulling the carburetor away, take clear photos from several angles. Focus on the throttle linkage, governor spring, fuel line, and mounting bolts.
Small springs may look similar but serve different purposes. A misplaced governor spring can make the engine run too fast, which may damage the engine or create a safety risk.
3. Disconnect the fuel line
Place a container below the fuel line. Pinch the line with a fuel-line clamp or suitable pliers, then loosen the clamp and pull the hose from the carburetor.
If the hose feels hard, cracked, or swollen, replace it. Old rubber can break apart and send particles into the freshly cleaned carburetor.
4. Remove the carburetor
Remove the mounting bolts or nuts. Gently pull the carburetor away from the engine.
Do not yank it. The gasket may stick to the mating surface, and the throttle linkage may still be attached. Keep track of washers, spacers, and heat shields.
5. Remove the fuel bowl
Many mower carburetors have a metal bowl held by one bolt at the bottom. Place a rag underneath, then remove the bowl bolt carefully.
Fuel may drain from the bowl. Look for water, rust, dirt, or a dark sticky film. These signs confirm that the fuel system needs attention.
Some bowl bolts contain a tiny fuel passage. Treat the bolt like a jet and clean every opening with carburetor cleaner and a soft tool.
6. Inspect the float and needle
The float controls the fuel level in the bowl. It should move freely and should not contain gasoline inside it.
Gently lift the float. The small needle beneath it should move smoothly. If the needle sticks, clean the area with carburetor cleaner and a lint-free cloth.
Do not bend the float tab unless the manual gives a specific adjustment procedure. A wrong float position can cause flooding or fuel starvation.
7. Remove and clean the main jet
The main jet may sit in the bowl bolt or inside the carburetor body. Use the correct screwdriver to remove it. A damaged screwdriver can strip the soft brass slot.
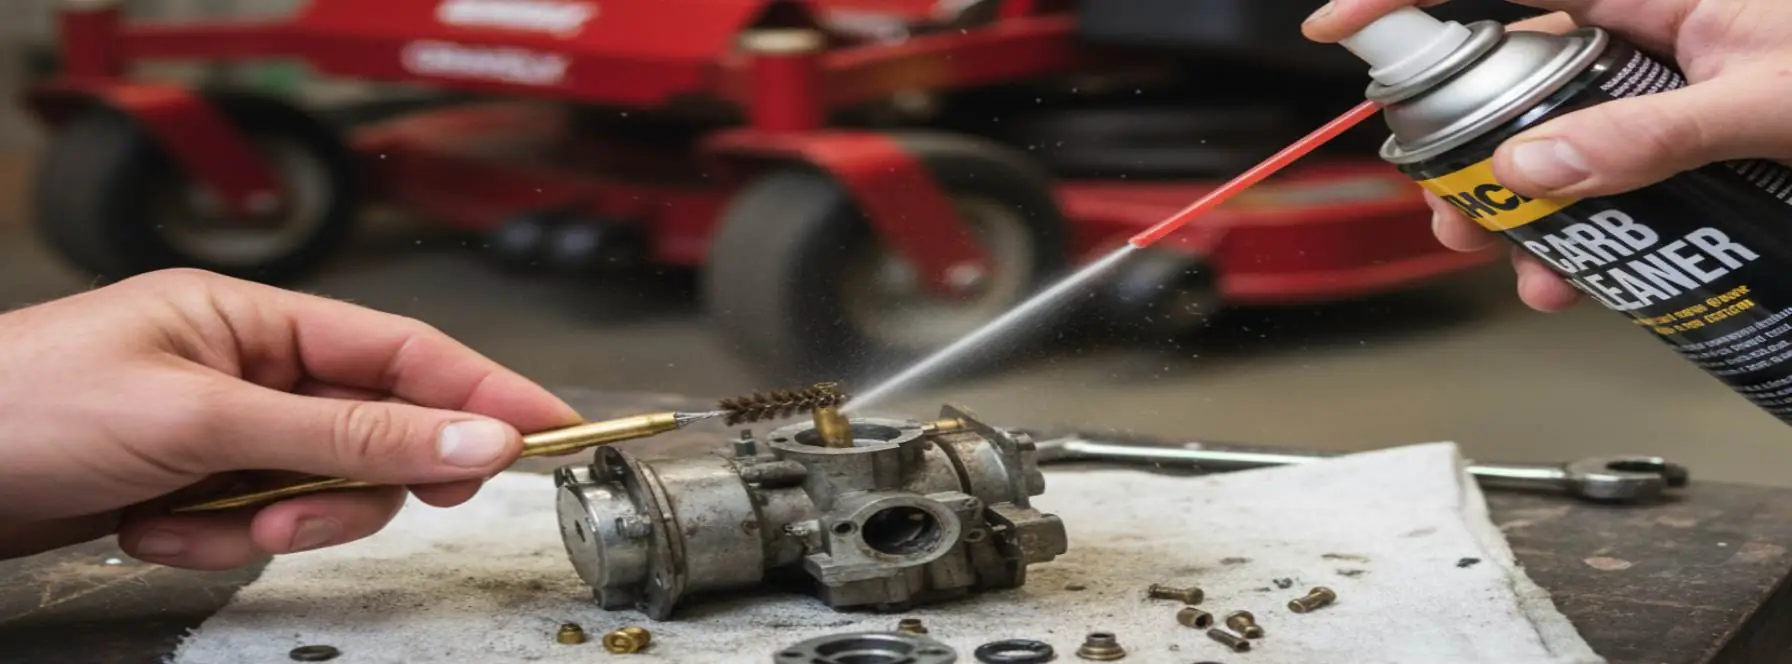
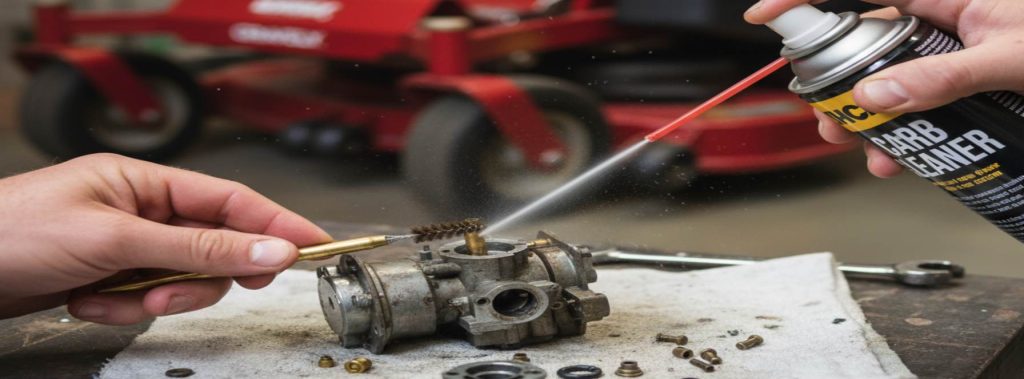
Spray carburetor cleaner through the jet. Then use a nylon bristle, brass wire, or proper jet tool to clear the opening. Hold the jet toward a light source. You should see a clean, round passage.
Never use a drill bit. A larger jet opening can make the engine run too rich and may lead to black smoke, poor fuel use, and carbon buildup.
8. Spray the carburetor passages
Spray cleaner into the fuel inlet, main passage, vent holes, and air openings. Let the cleaner loosen the varnish for a few minutes.
Use short sprays rather than flooding every part. Keep cleaner away from painted surfaces when possible, because some formulas can damage paint and plastic.
Compressed air can help dry the passages. Use low pressure and hold small parts securely. Do not allow a loose gasket, needle, or spring to fly across the workbench.
9. Clean the bowl and body
Wipe the fuel bowl until no residue remains. Use a soft brush for stuck dirt.
Avoid scraping aluminum with a sharp blade. Deep scratches can prevent the gasket from sealing. If the bowl has heavy rust or damage, replacing it is safer than trying to restore it.
10. Replace the gasket if needed
A flat, hard, torn, or swollen gasket should be replaced. Reusing a damaged gasket can cause an air leak or fuel leak.
Install the gasket in the correct position. Some carburetors use more than one seal, and the order matters. Compare the parts with your photos and the engine manual.
11. Reassemble the carburetor
Install the jet, float, needle, bowl, and bowl bolt. Tighten screws firmly but do not over-tighten them.
Soft aluminum threads can strip easily. If the manual lists a torque value, follow it. Otherwise, use gentle, even pressure and stop when the part is secure.
12. Reinstall the carburetor and linkage
Attach the carburetor to the engine with the correct gasket and spacers. Reconnect the fuel line, throttle linkage, and governor spring exactly as they were.
Check that the throttle moves freely. Nothing should rub against the flywheel, muffler, or blade area.
13. Add fresh fuel and test the mower
Use fresh fuel in the correct grade for your engine. Open the fuel valve, reconnect the spark plug wire, and start the mower outdoors.
Let it idle for a short time. Watch for fuel leaks, unusual engine speed, heavy smoke, or strong fuel smells. Stop the engine at once if fuel leaks or the engine races.
Learning how to clean lawn mower carburetor parts is mostly about patience. The passages are small, and rushing the reassembly can create a second problem after the first one is fixed.
How to Clean a Lawn Mower Carburetor Without Removing It
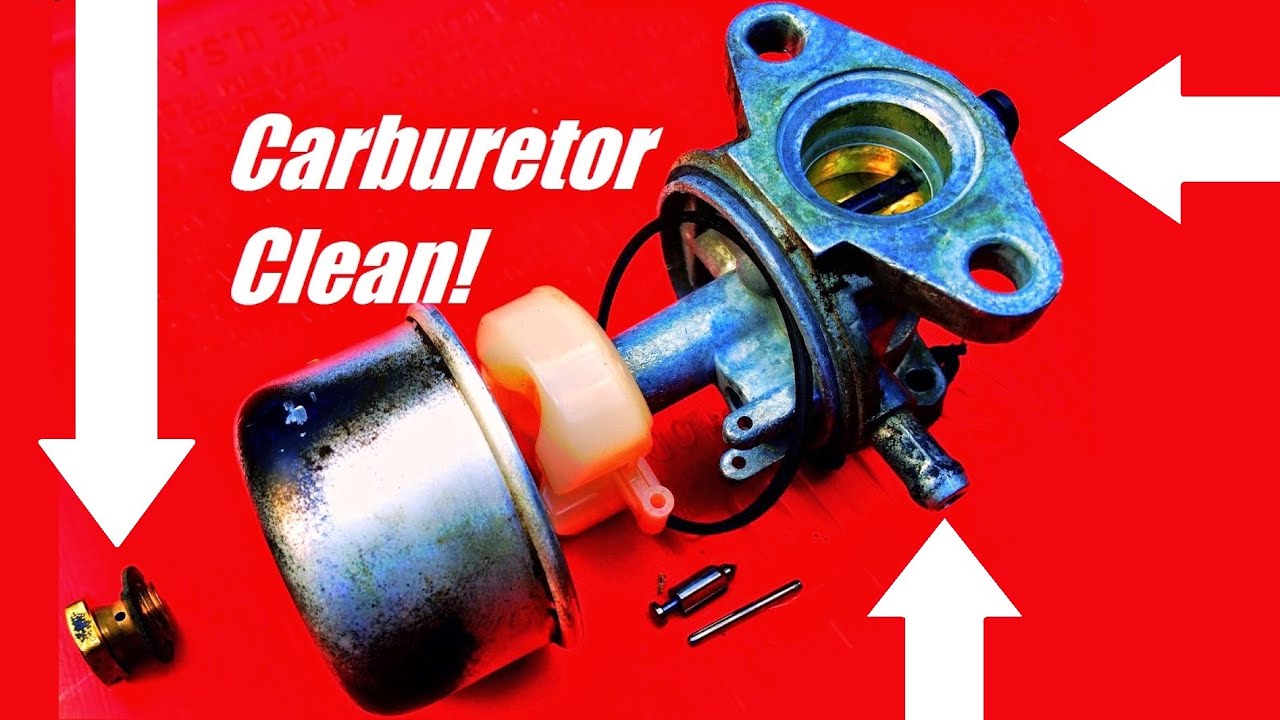
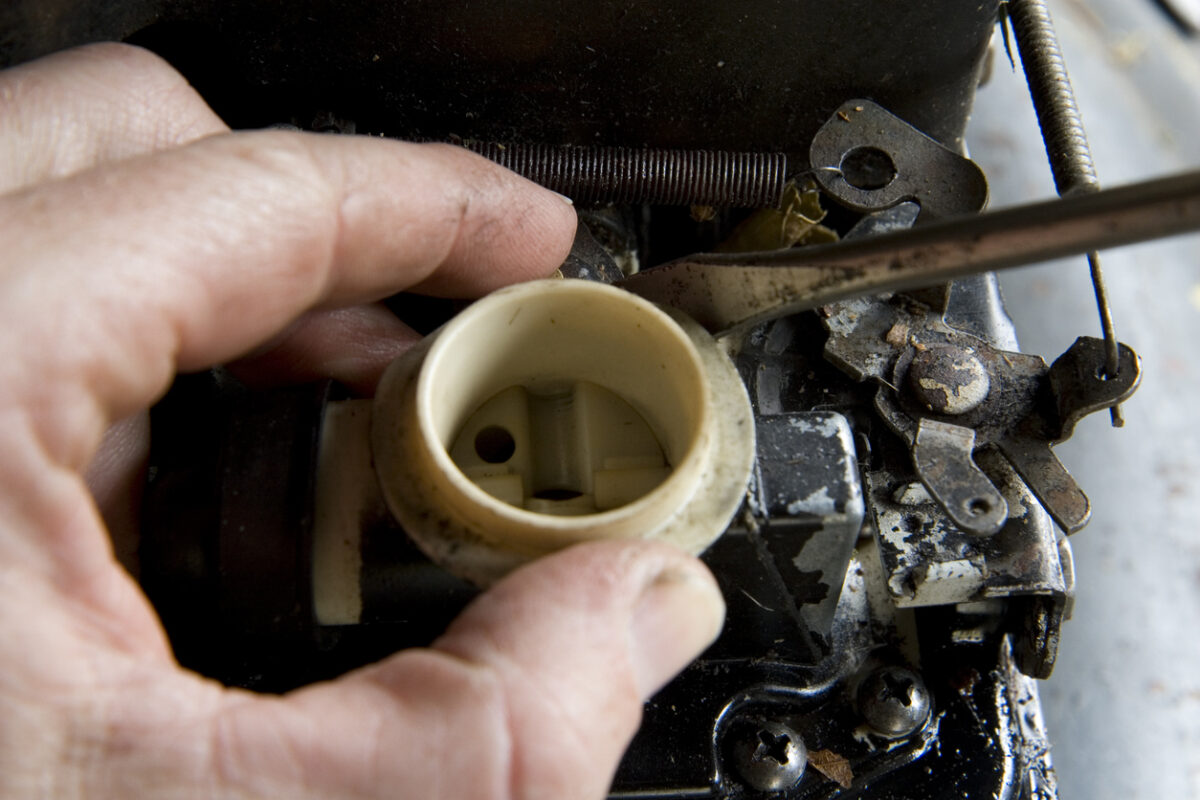
A light blockage may improve with an on-mower cleaning, but this method has limits. It cannot remove dirt from the fuel bowl or repair a damaged float.
To try a basic external cleaning:
-
Disconnect the spark plug wire.
-
Remove the air filter.
-
Spray approved carburetor cleaner into the carburetor throat.
-
Wipe visible dirt from the outside.
-
Replace the air filter if it is dirty.
-
Reconnect the spark plug wire and test the engine.
Do not spray large amounts of cleaner into a running engine unless the product label specifically allows it. Excess liquid can damage the engine or create a fire risk.
If the mower still surges, stalls, or refuses to start, remove the carburetor for a full cleaning. An external spray is useful for light deposits, but it cannot clean a blocked main jet properly.
What to Do When the Carburetor Is Still Dirty
Sometimes cleaning does not solve the problem. This may happen when varnish has hardened for years, a gasket has failed, or a small passage is blocked deep inside the carburetor.
Consider a rebuild kit when:
• The float needle leaks
• The gasket is damaged
• The bowl seal no longer fits
• The carburetor has corrosion
• The engine floods after cleaning
• Fuel continues to leak
A rebuild kit often includes gaskets, a needle, a seat, and sometimes a new float. Match the kit to the exact engine model, not just the mower brand.
Replacement may be the better choice when the carburetor body is cracked, badly corroded, or cheaper to replace than to rebuild. Many modern mower carburetors are simple and inexpensive, but always compare the replacement with the original before installation.
Also inspect other causes if the engine remains difficult to start. Check the spark plug, ignition system, compression, air filter, fuel line, fuel cap vent, and blade brake system.

Common Mistakes to Avoid
A few small mistakes can turn a simple cleaning into a costly repair.
• Do not work near an open flame.
• Do not leave fuel in an open container.
• Do not mix up governor springs and throttle linkages.
• Do not poke jets with oversized wire.
• Do not use household degreaser inside fuel passages.
• Do not scrape gasket surfaces with a sharp knife.
• Do not reuse a cracked fuel hose.
• Do not over-tighten bowl bolts.
• Do not install a gasket backward.
• Do not test the mower with a fuel leak.
One repair lesson worth remembering is that clean does not always mean fixed. A carburetor may look spotless but still have a blocked internal passage. Always test fuel flow, float movement, and jet openings rather than judging only by appearance.
Another common mistake is cleaning the carburetor while leaving old fuel in the tank. That old fuel can send fresh debris straight back into the clean parts. Drain the tank and use fresh fuel after the repair.
How to Prevent Future Carburetor Problems
Prevention is easier than repeated carburetor cleaning. Good fuel habits reduce varnish, moisture, and corrosion.
Use these maintenance tips:
• Add fuel stabilizer when fuel may sit for more than a few weeks.
• Follow the stabilizer label for the correct amount.
• Store the mower with the fuel system prepared for the off-season.
• Replace the air filter at the interval listed in the manual.
• Keep the fuel can clean and tightly sealed.
• Avoid storing gasoline in direct sun or high heat.
• Inspect fuel lines at the start of each mowing season.
• Clean grass and dust from the engine housing.
Some manufacturers recommend draining the tank and running the engine dry for seasonal storage. Others recommend keeping stabilized fuel in the system. Follow the mower manual, because fuel-system designs differ.
Gasoline with ethanol can attract moisture over time. Using fresh fuel and keeping the fuel container sealed helps limit this issue. Never store fuel longer than the product label or local safety guidance allows.
When to Call a Professional
Cleaning a lawn mower carburetor is often a manageable home repair, but not every problem should be handled alone.
Seek professional help when:
• Fuel pours from the carburetor
• The engine runs dangerously fast
• The fuel tank is rusty inside
• The carburetor body is cracked
• You cannot identify the governor linkage
• The engine has no spark or compression
• The mower has electrical fuel controls
• You smell fuel after the repair
A repair shop can test compression, ignition timing, fuel flow, and governor operation. This can save time when the carburetor is only one part of a larger problem.
If the mower is still under warranty, check the warranty terms before taking it apart. Removing sealed parts may affect coverage.
Frequently Asked Questions About How to Clean Lawn Mower Carburetor
Can I clean a lawn mower carburetor without removing it?
You can clean the outside and spray some cleaner through the intake without removing it. However, a full cleaning usually requires removing the bowl and jet so you can clear hidden fuel passages.
What is the best cleaner for a lawn mower carburetor?
Use a commercial carburetor cleaner made for small engines. It should dissolve fuel varnish and dry without leaving a heavy residue, but always follow the product label and protect painted surfaces.
Why does my mower start only with the choke on?
This often means the engine is receiving too much air or too little fuel. A clogged main jet, dirty fuel passage, air leak, or restricted fuel flow can cause this symptom.
How often should I clean a lawn mower carburetor?
There is no fixed cleaning schedule for every mower. Clean it when symptoms appear, and prevent buildup by using fresh stabilized fuel and storing the mower correctly.
Should I replace the carburetor or clean it?
Clean the carburetor when it has removable dirt or varnish and the parts are in good condition. Replace it when the body is cracked, badly corroded, or more costly to rebuild than to replace.
Can old gasoline damage a lawn mower carburetor?
Yes. Old gasoline can form sticky deposits that block jets and passages. It can also absorb moisture, which may promote corrosion and poor engine performance.
Why does my mower still run badly after carburetor cleaning?
The problem may be a dirty air filter, weak spark, damaged fuel line, blocked fuel cap vent, low compression, or incorrect linkage installation. Check these parts before cleaning the carburetor again.
Conclusion
A clean carburetor helps your mower start easily, idle smoothly, and deliver steady cutting power. The key steps are to disconnect the spark plug, remove old fuel, clean the bowl and jets, inspect the float and needle, replace damaged gaskets, and reassemble every linkage correctly.
Take your time, use the right jet-cleaning tool, and never ignore fuel leaks or unsafe engine speed. With fresh fuel and basic seasonal care, you can prevent many carburetor problems before they return. Try these steps during your next mower repair, and share your results or questions in the comments.
